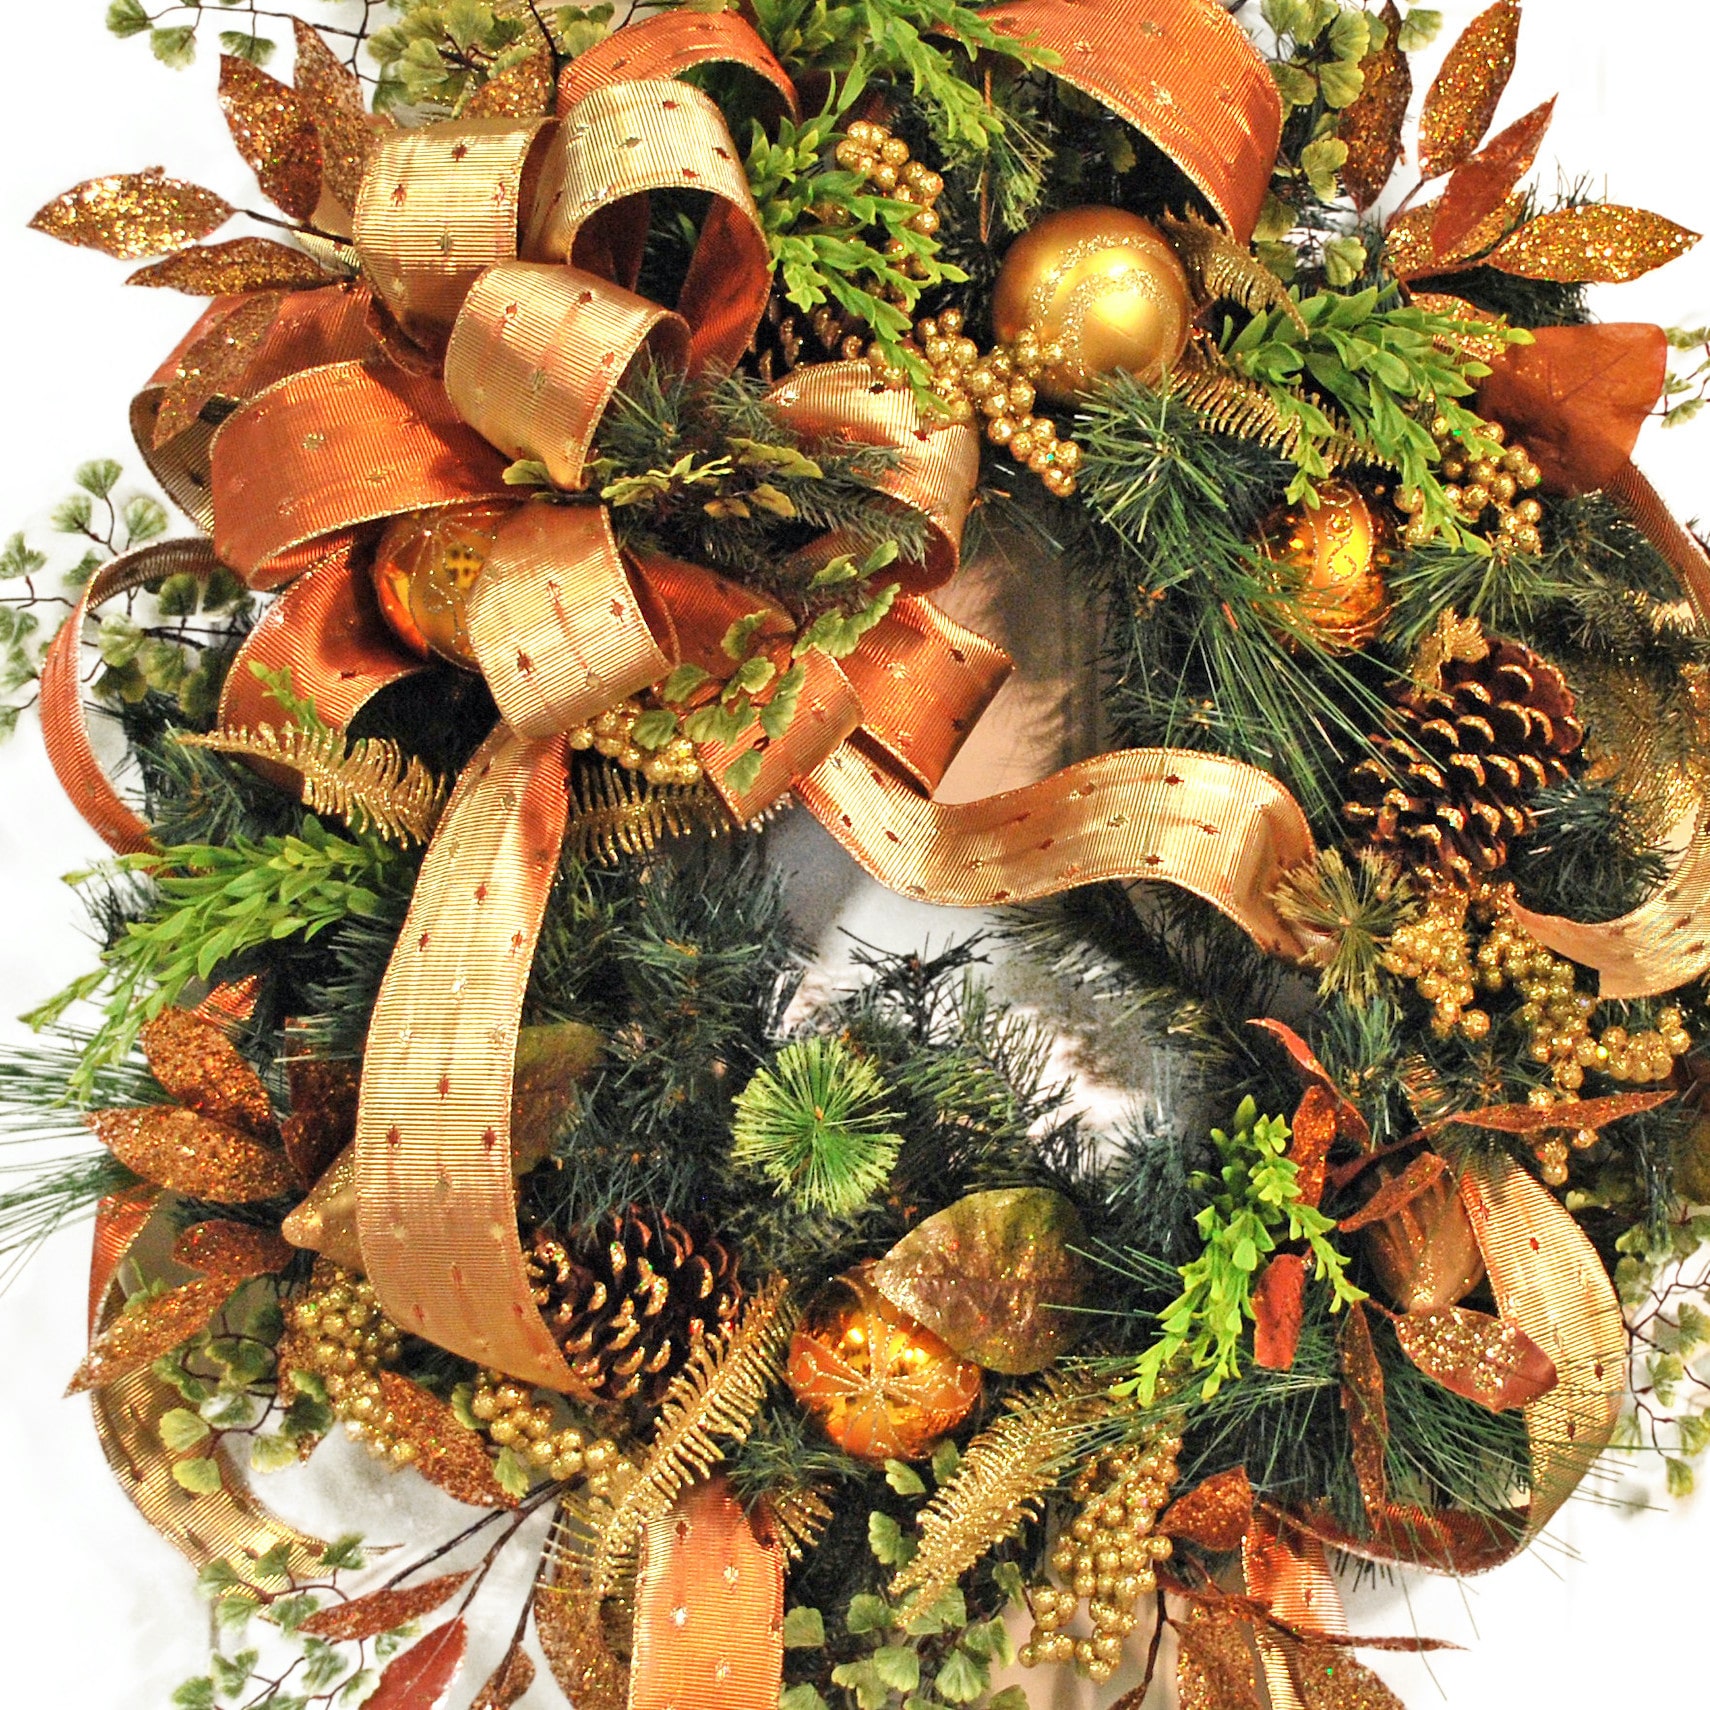
When You Find A Wreath You Made Falling Apart?
Me too! One of my students told me that before she started using my techniques she had come home to find that either the wind or the neighborhood children had claimed parts of her wreath.
Another lady even once found that her neighbor’s dog eating the bow from her wreath in the front yard. She was ready to give-up when until she found and watched one of my wreath building DVDs. I remember receiving an email saying most people, even herself, no idea there were so many clever ways to attach things so securely.
So, as you may have guessed, one of the number one questions I get is:
“Nancy, how do I keep my decorations attached securely enough that they won’t fall off?” Whether it’s antiqued pots, birds or bees, or even bows, putting together a wreath securely can be tricky, but if you know my technique, it’s a breeze!
Let me share two of the most important tips with you right here.
Here’s How to Do it Yourself!
Tip Number 1 For Keeping Materials Attached
Just look at all the details in this picture! 
You’ll find a loop of honeysuckle vine attached so securely that it is holding in place a bird nest as well as a bird and all the blossoms, leaves, and berries surrounding it.
Sometimes, I even slide a clay pot into the loop of the honeysuckle. Wouldn’t you think it would be easy for the clay pot to slide out especially if I turned the wreath upside down? Well it doesn’t. My materials are anchored so securely in this wreath that they never come loose.
It’s like a building with a firm foundation from the ground up. I always start with the very first item added using glue, wire and pipe cleaners. I don’t leave it all up to hot glue because on a hot summer’s day, glue can get hot and soft. Make your wreaths like I teach you to, and everything is there to stay!
Tip Number 2 For Keeping Materials Attached
 How long do you think your stems need to be when inserting them into a wreath?
An inch, or maybe a couple of inches? Do you think that is enough with lots of hot glue holding it in place?
Well, it’s not. Unless I can insert the stems into my wreath at least three to five inches, that is when I add a pick.
This floral pick with a pointed end slides easily way into my birch wreath base. And then, even though I may have added glue, I usually reach in with my glue gun and add some more.
If when sliding my stem in, it feels a little loose and doesn’t go into a firm, tight spot, I pull it out and start over. I do this as many times as necessary in order to make sure this stem will stay forever!
I Hope You Enjoyed These Tips!
If you liked those and you’re interested in learning all of my Spring, Summer, Fall & Winter Wreath and Flower Arranging secrets, you can join us in my Inner Circle which gives you access to EVERY eBook I’ve ever written about wreath making… or every video I’ve ever filmed teaching you all my wreath making secrets!
Learn how to make a wreath, tie a bow and create a floral arrangement!
Join me and many of your peers who are learning the same thing as you – how to design beautiful wreaths and sell them online.
Nancy’s Inner Circle for those who are ready to reach their dreams and goals!


2 Responses
I had to laugh when I received the e-mail…I received the “Merry Christmas” XL Christmas Door Wreath CD from you last week…I needed to know, “How does Nancy secure those ornaments to her wreaths”. Now I know…Sooooooo, enjoyed the video…have watched twice, ha!!! Thank you again for the person you are and always thinking about us. Love from Gulfport, Ms.
Hi Karen,
I’m so happy that your question was answered in the video. Now, I’m sure you’ll be having lots of fun designing your own Christmas Wreaths!
Best Wishes, Nancy